For any support please don't hesitate to contact us at Support Center. We provide 24 hours real-time support for our customers.
We would like to thank you for choosing Uminex.
Getting started
Uminex – Multipurpose eCommerce NextJS 15 Template is a clean and modern NextJS 15 , Tailwind eCommerce Template. An eCommerce NextJS 15 template is a powerful tool for creating a professional and visually appealing online store. With a well-designed template, you can quickly and easily build an eCommerce website that not only looks great but also functions seamlessly. These templates provide the basic structure and layout for your online store, including pages for product listings, shopping carts, checkout processes, and more. Whether you’re just starting out with your eCommerce business or looking to revamp your existing website, an eCommerce NextJS 15 template can be a valuable resource for creating a high-quality online store that meets your unique needs.
Requirements
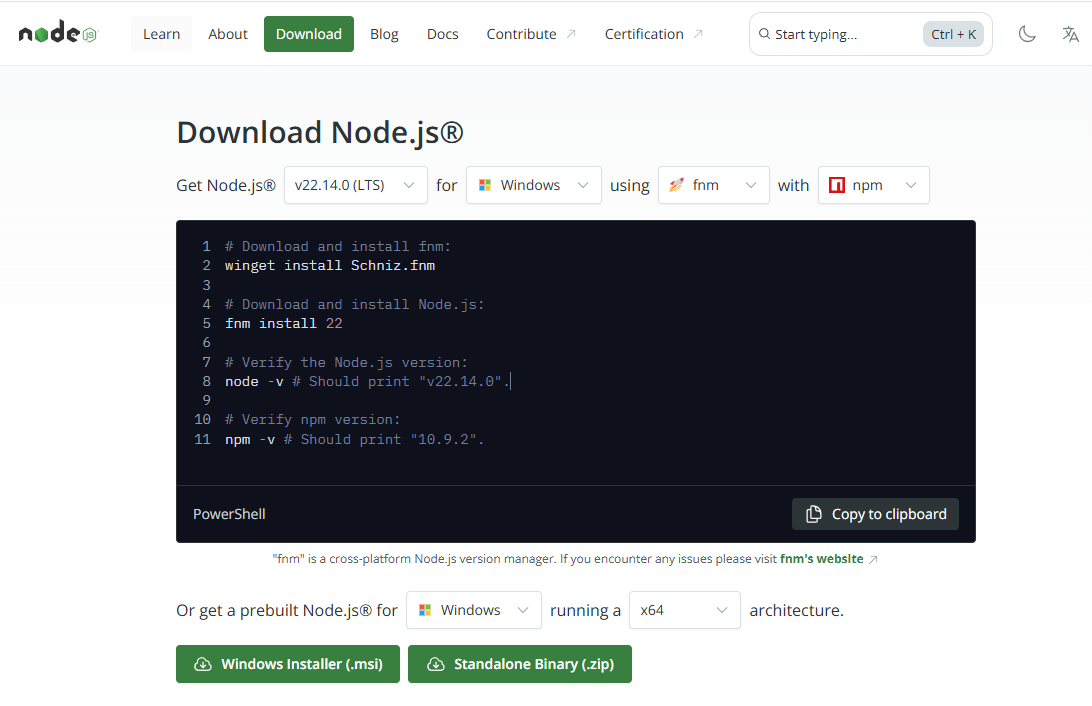
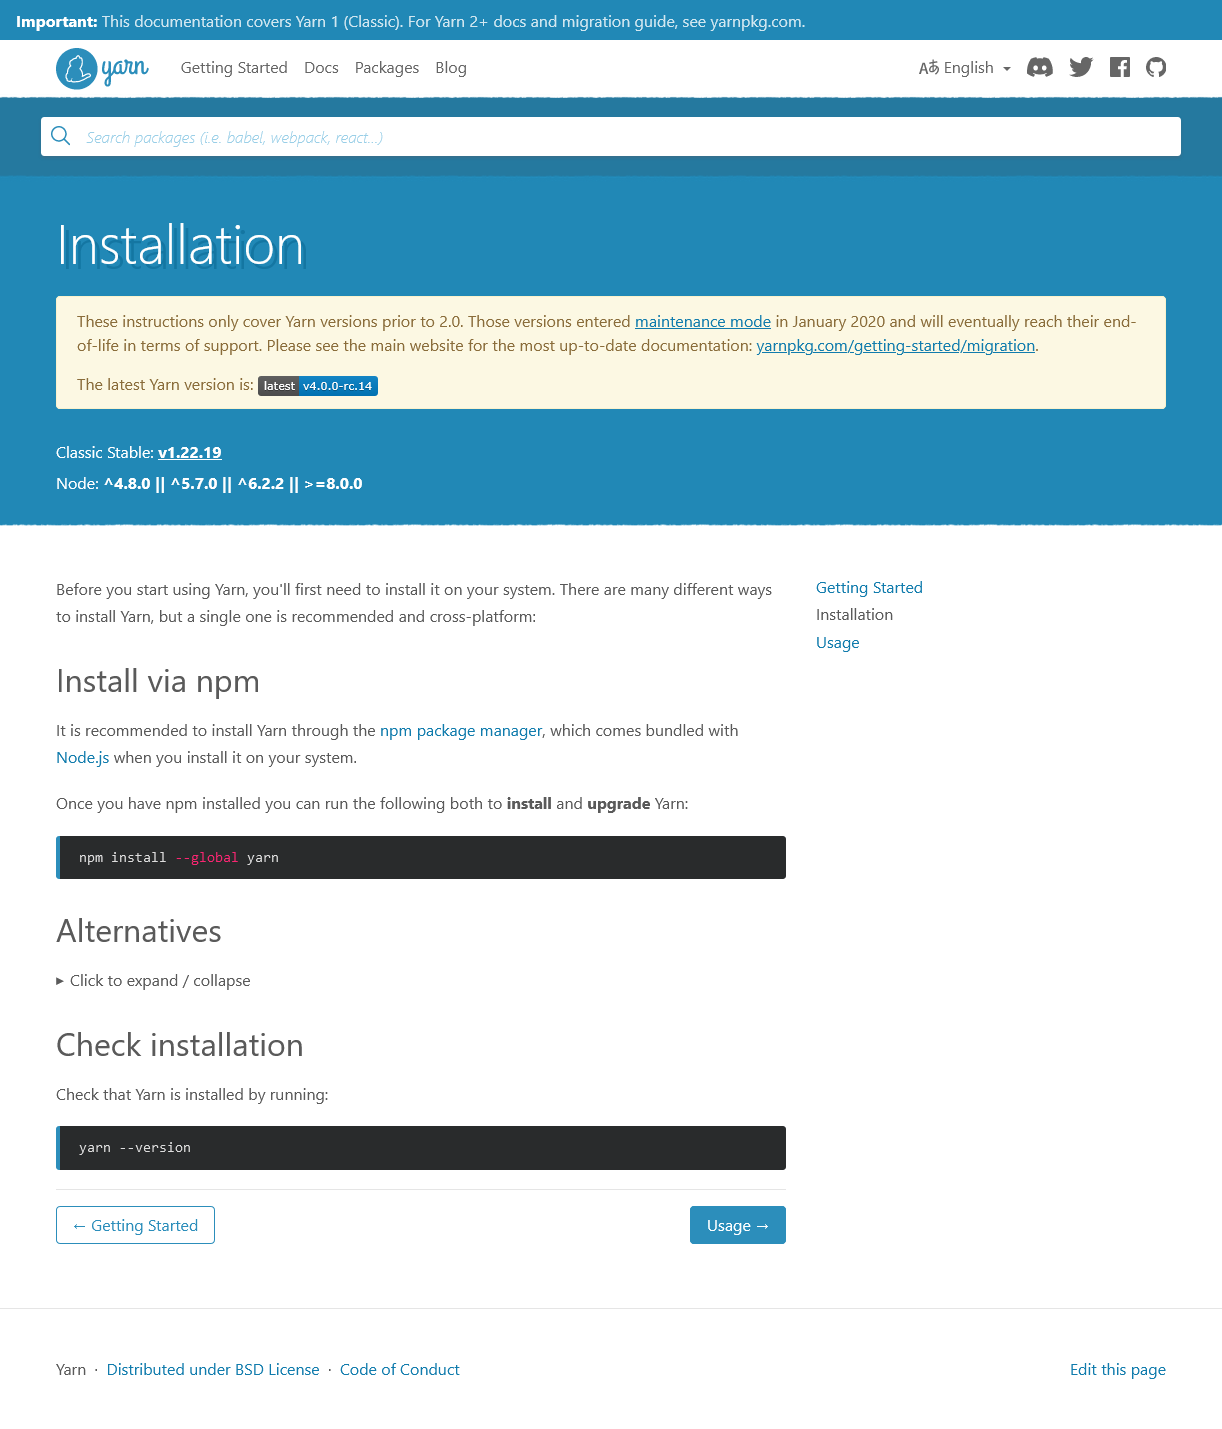
There are system requirements in order to install and setup Uminex template and its components properly. Make sure that you are installed Node (18.2.0 or later) and Yarn.
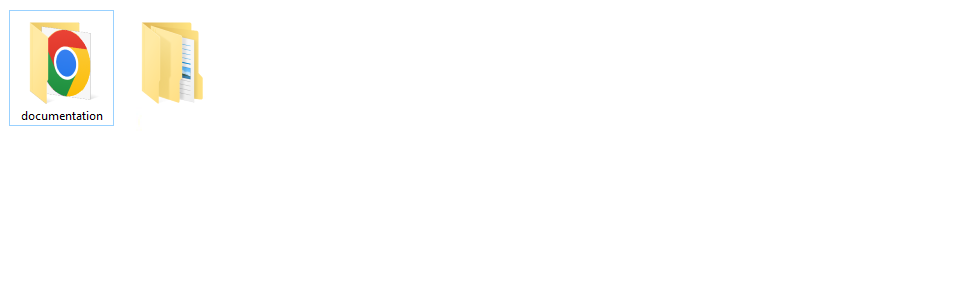
After purchasing Uminex template on themeforest.net with your Envato account, go to your Download page. You can choose to download Uminex template package which contains the following files:
NextJS 15 - Uminex
The contents of the template package downloaded from ThemeForest
Uminex - An NextJS Template file. this file you can edit and use for your business.
Documentation - This folder contains what you are reading now :)
Uminex Installation
Please follow the instructions how you can install Next on your hosting:
For local host -
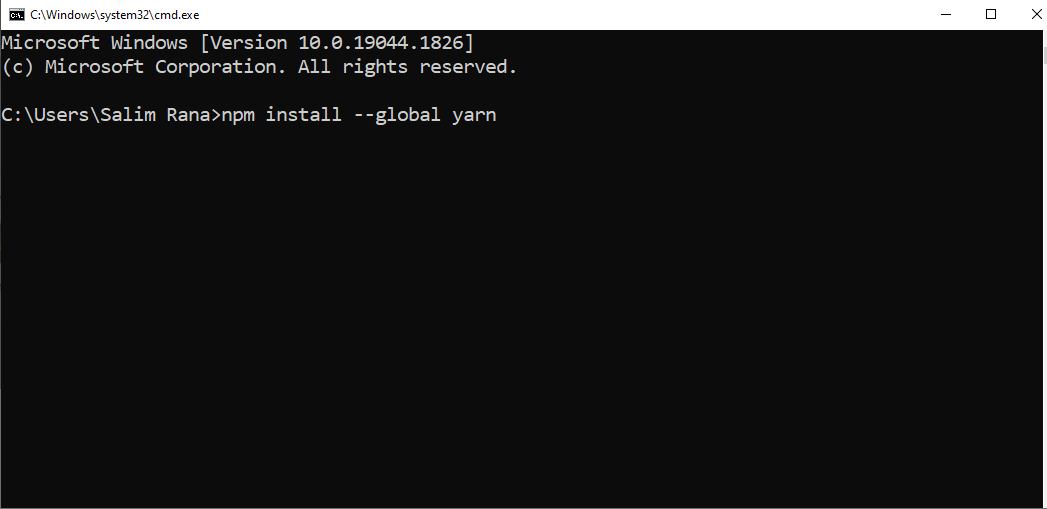
Open you command prompt
npm install or npm install --legacy-peer-deps
npm run dev (will start the dev server at http://loaclhost:3000)
To deploy a Next.js application on Vercel, you can follow these steps:
Open you command prompt
Sign up for an account on Vercel if you don't have one already.
Connect your GitHub, GitLab, or Bitbucket repository where your Next.js application is hosted.
Import your repository on Vercel and select the Next.js project to be deployed.
Vercel will automatically detect your Next Next application and perform the necessary build and deployment steps.
Once the deployment is complete, you'll be able to access your application using the URL provided by Vercel.
Basic Site Settings
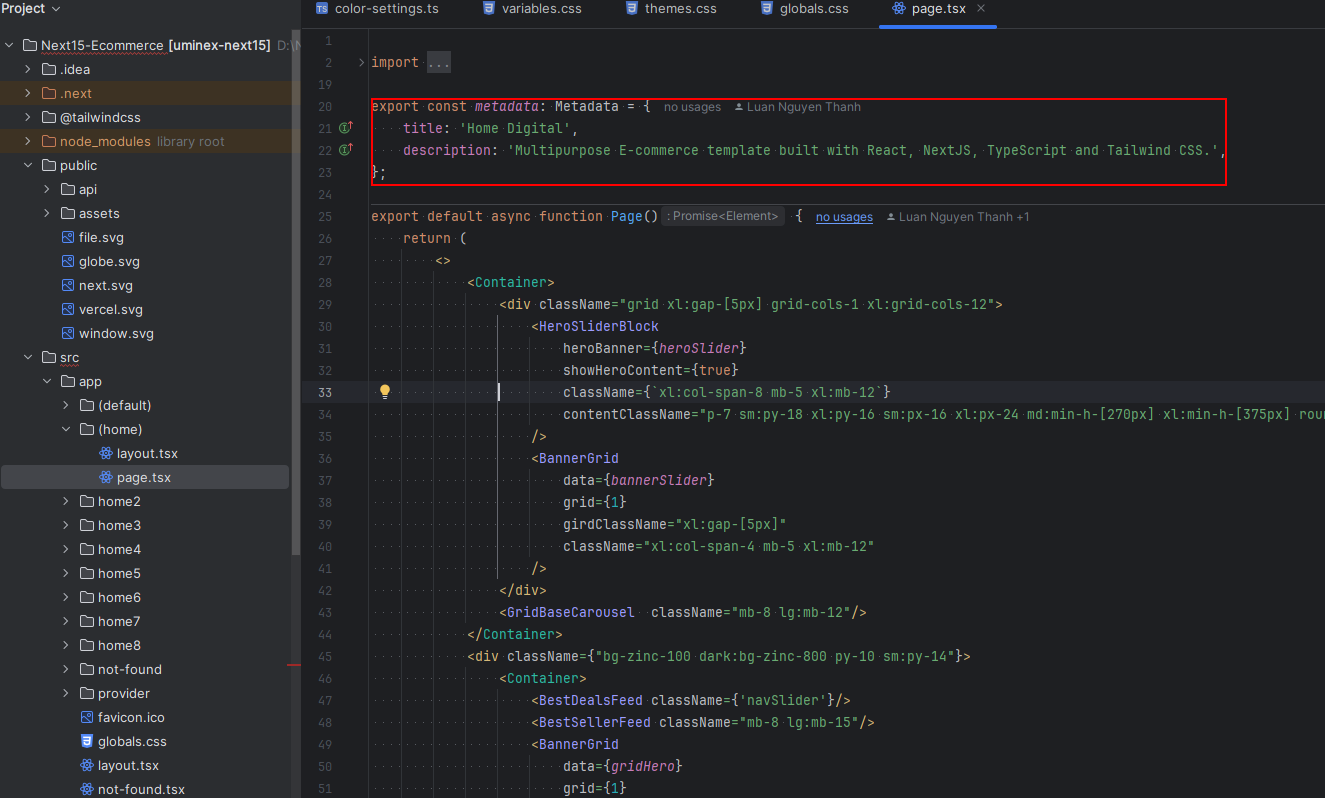
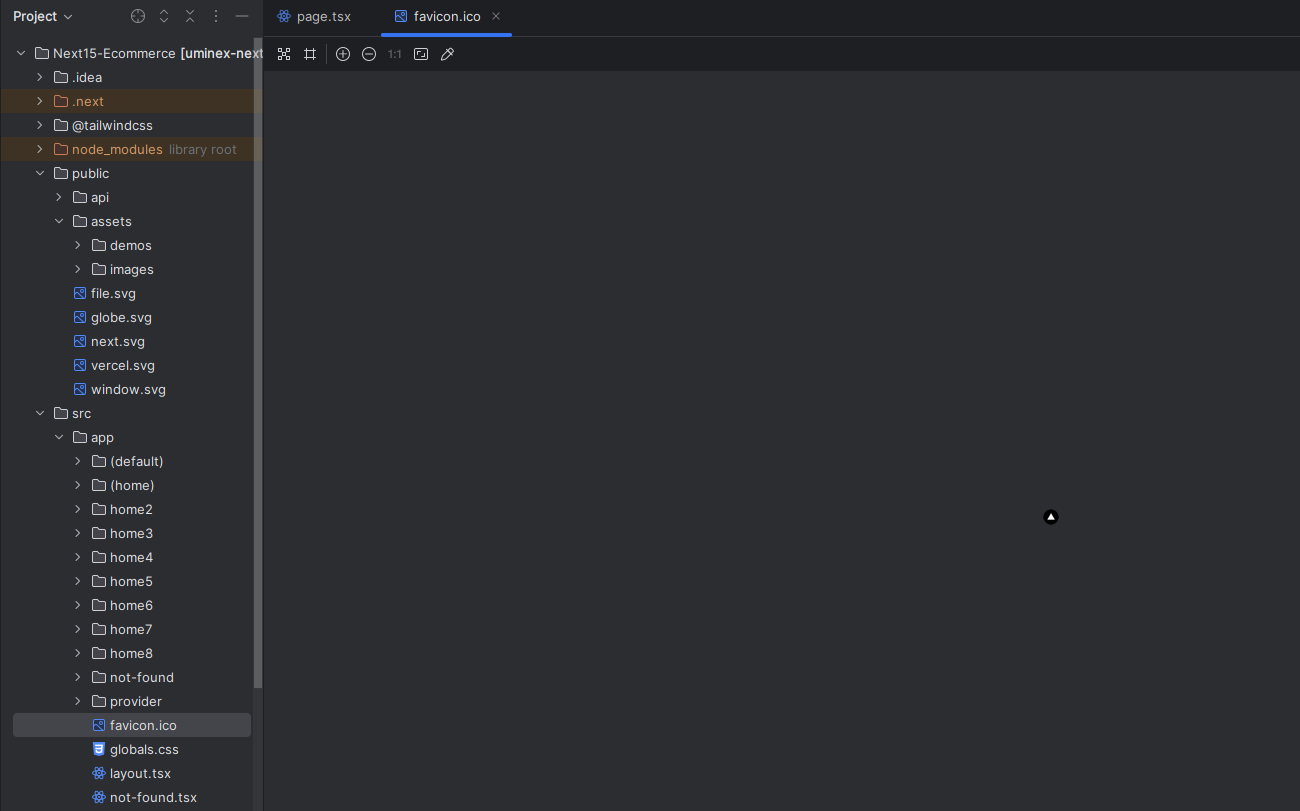
Change Page Title and Favicon
To change your Site title and Favicon open the Uminex in your editor and go to the location by following screenshot which are given bellow.
You can change page title hereYou can change favicon here
Change Logo
To change logo and customize other header data do the following:
From the project folder go to src datasite-settings.tsOpen the menu you want to use
Then customize the Logo
You can change logo here
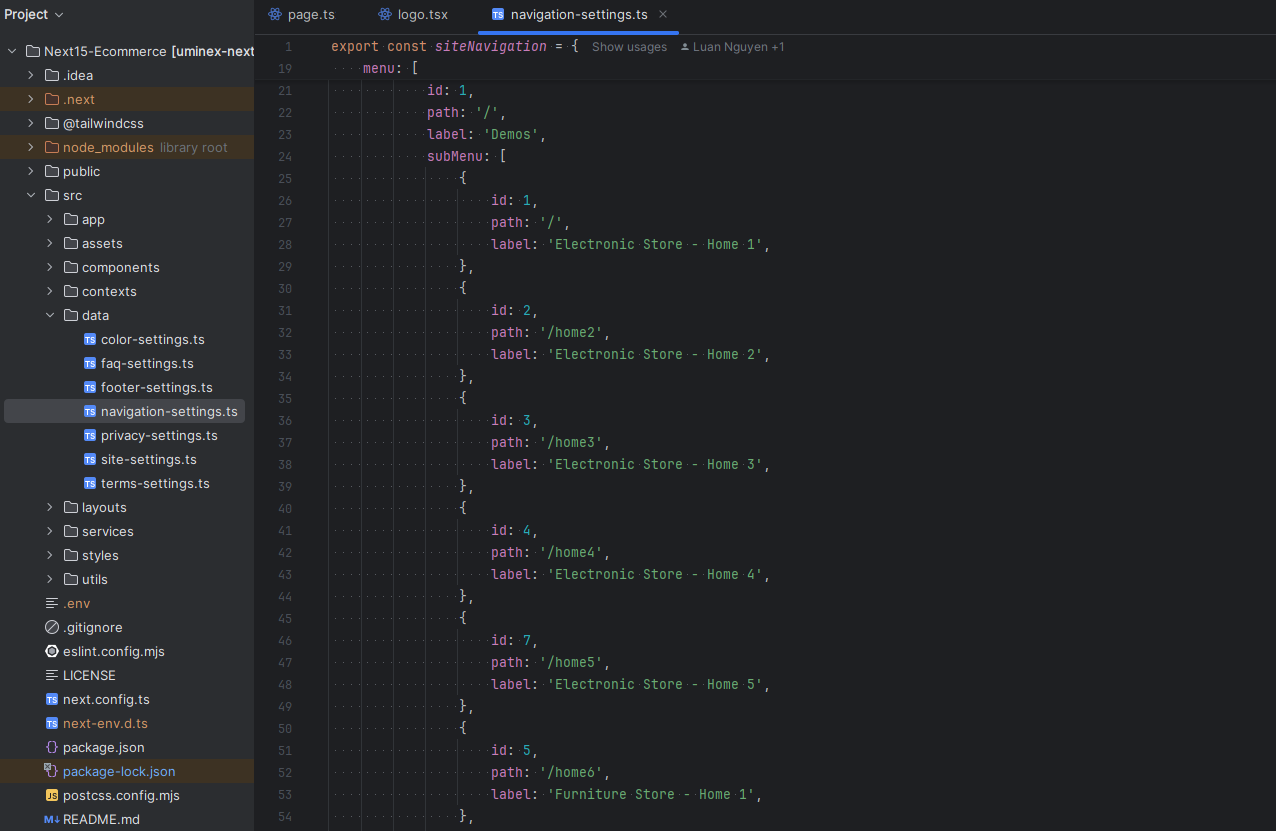
Customize Menu
To customize menu do the following:
From the project folder go to src datanavigation-settings.tsOpen the menu you want to use
Then customize the menu
Customize the menu
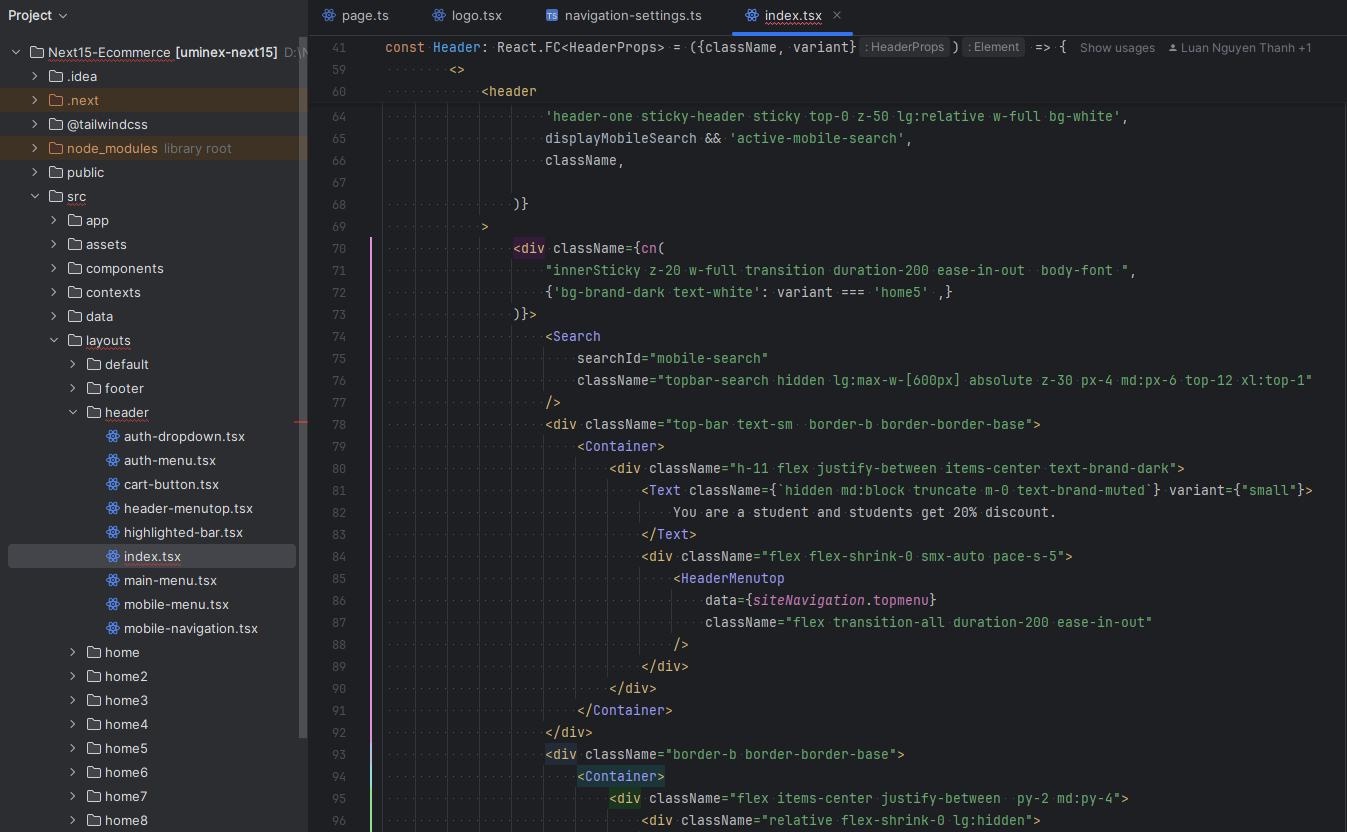
Customize Header
We gave you four header layout. you can modify the header markup there.
From the project folder go to src layoutsheaderOpen the menu you want to use
Then customize the header
Customize the header
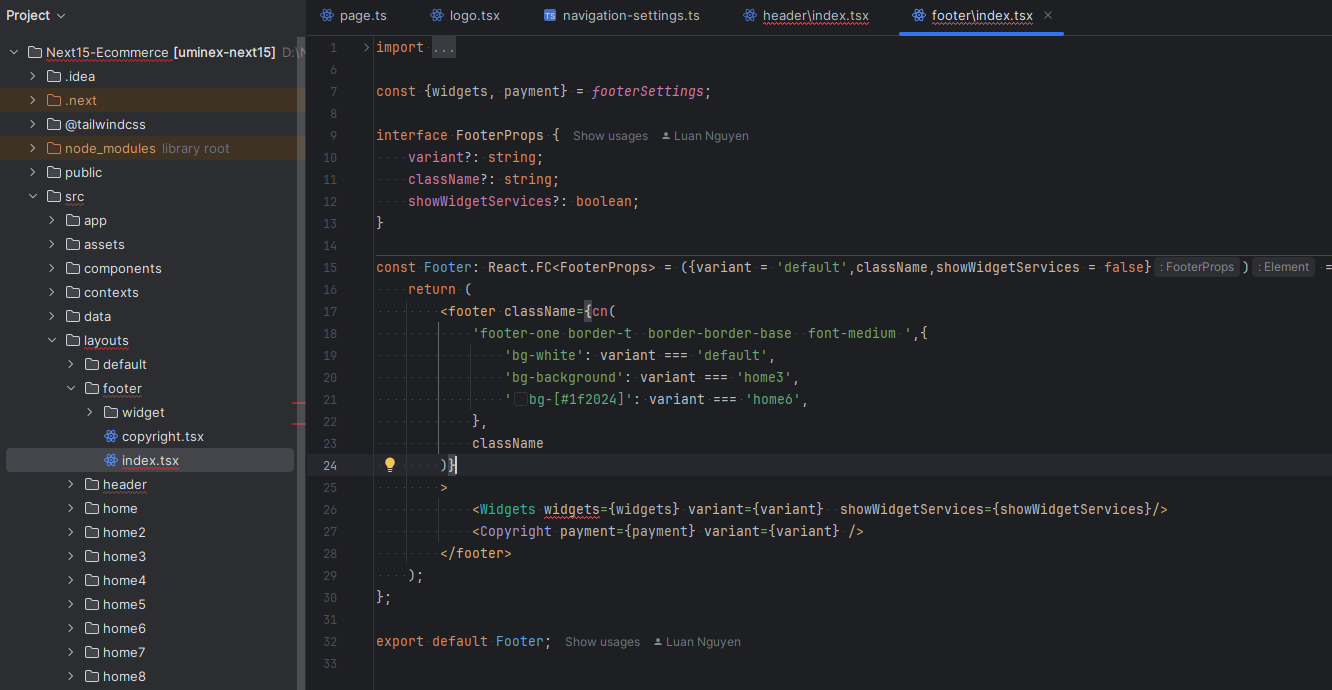
Customize Footer
To customize footer data do the following:
From the project folder go to src layoutsfooterOpen the menu you want to use
Then customize the footer data
Customize the footer
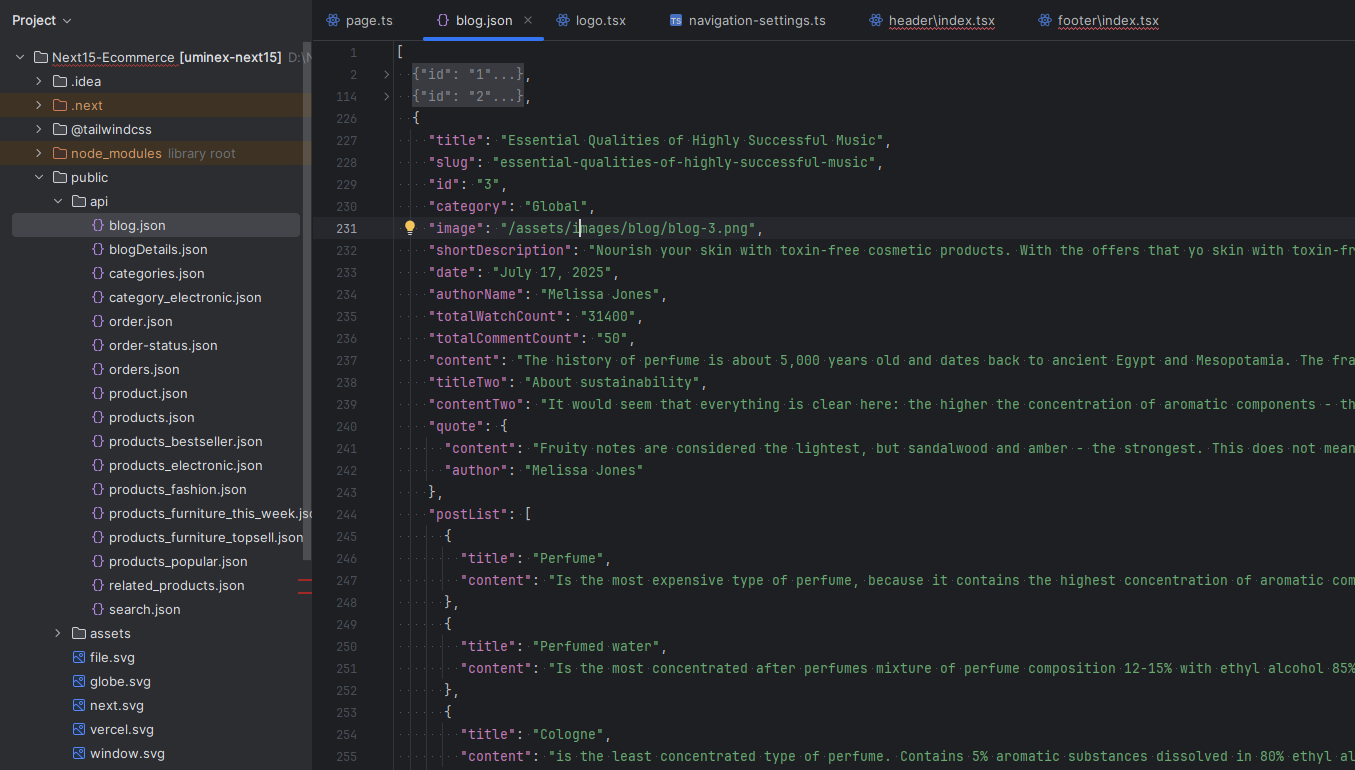
Customize Blog data
To customize blog data do the following:
From the project folder go to public apiblog.json, blogDetails.jsonOpen the menu you want to use
Then customize the blog data
Customize the blog
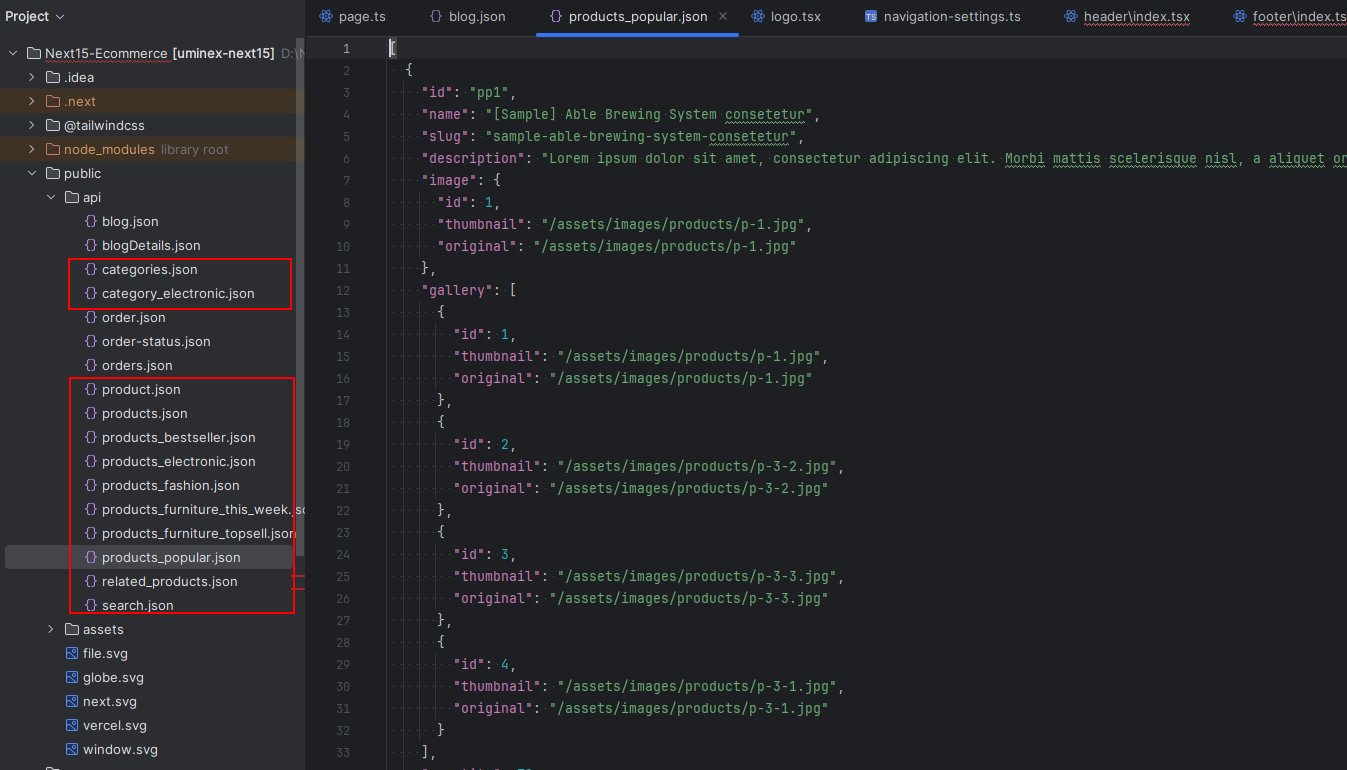
Customize Product and Category data
To customize Product and Category data do the following:
From the project folder go to public apiproducts_popular.json, products_bestseller.json, products_electronic.json .vv..Open the menu you want to use
Customize the blog
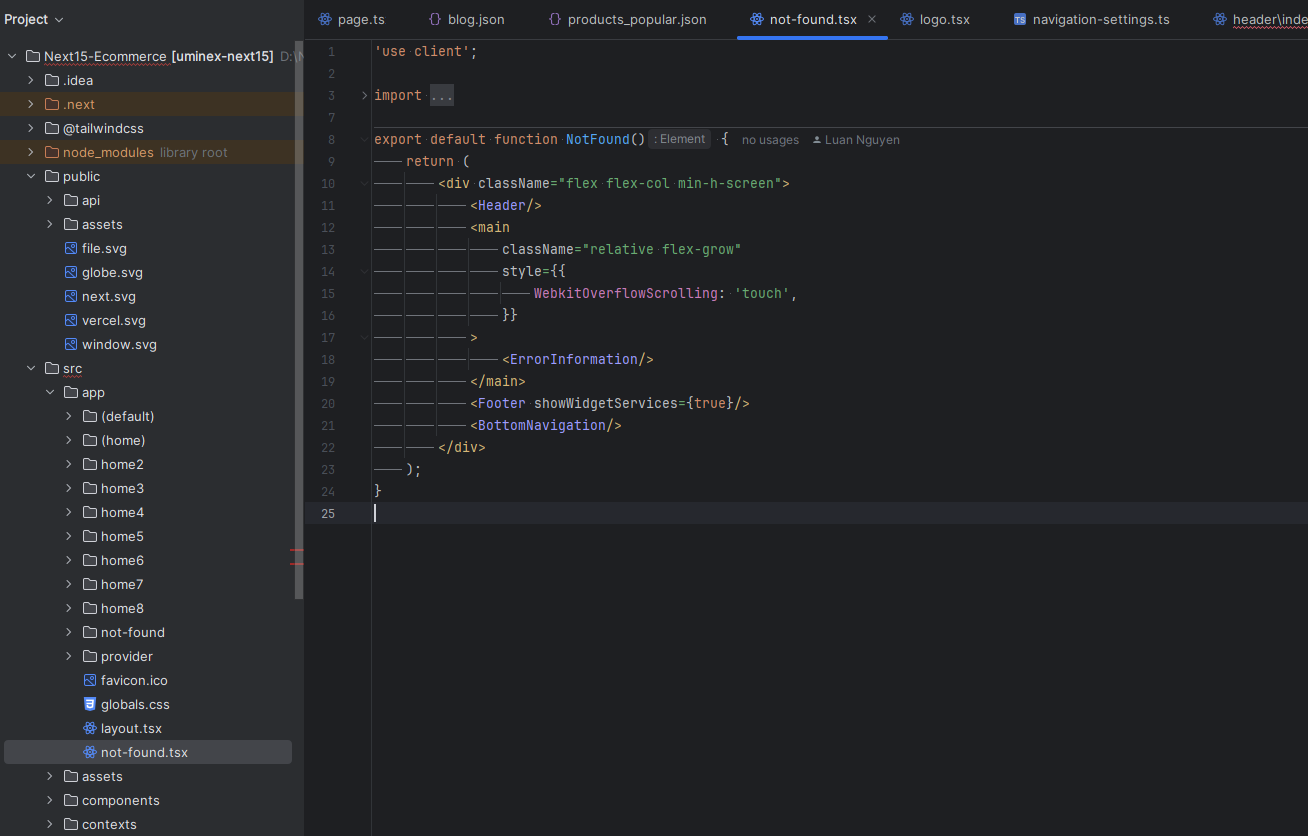
Error Handling
To change 404 and other error you can change by following this screenshot here.
From the project folder go to app not-found.tsxOpen the menu you want to use
Then customize the error page
Customize the error page
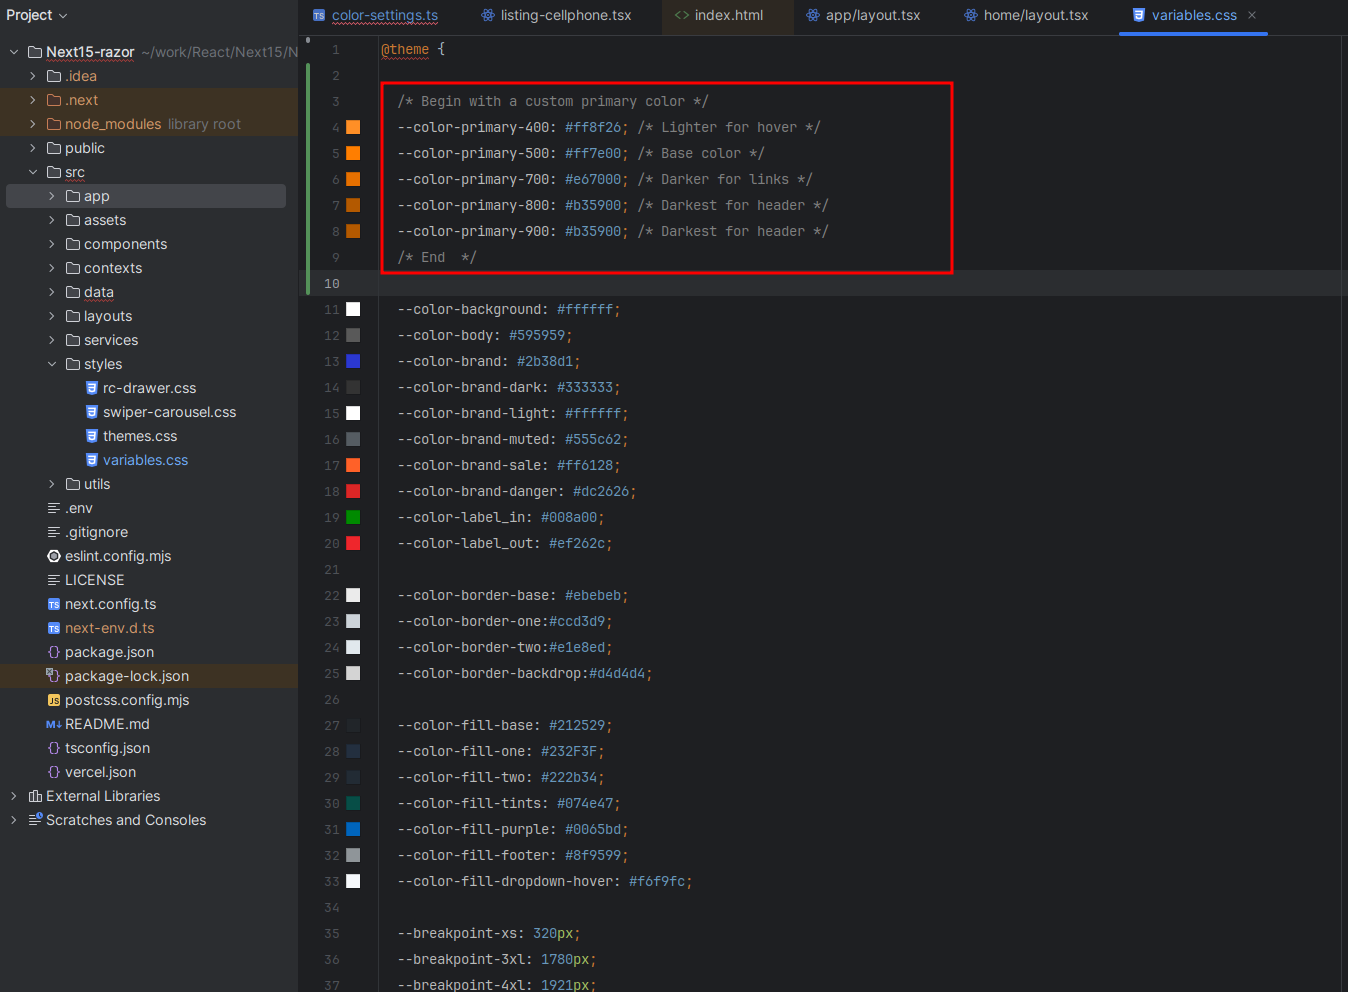
Colors & Typography
To change color and setting you can change by following this screenshot here.
From the project folder go to stylesvariables.cssOpen the menu you want to use
Then customize the primary color
Customize the color
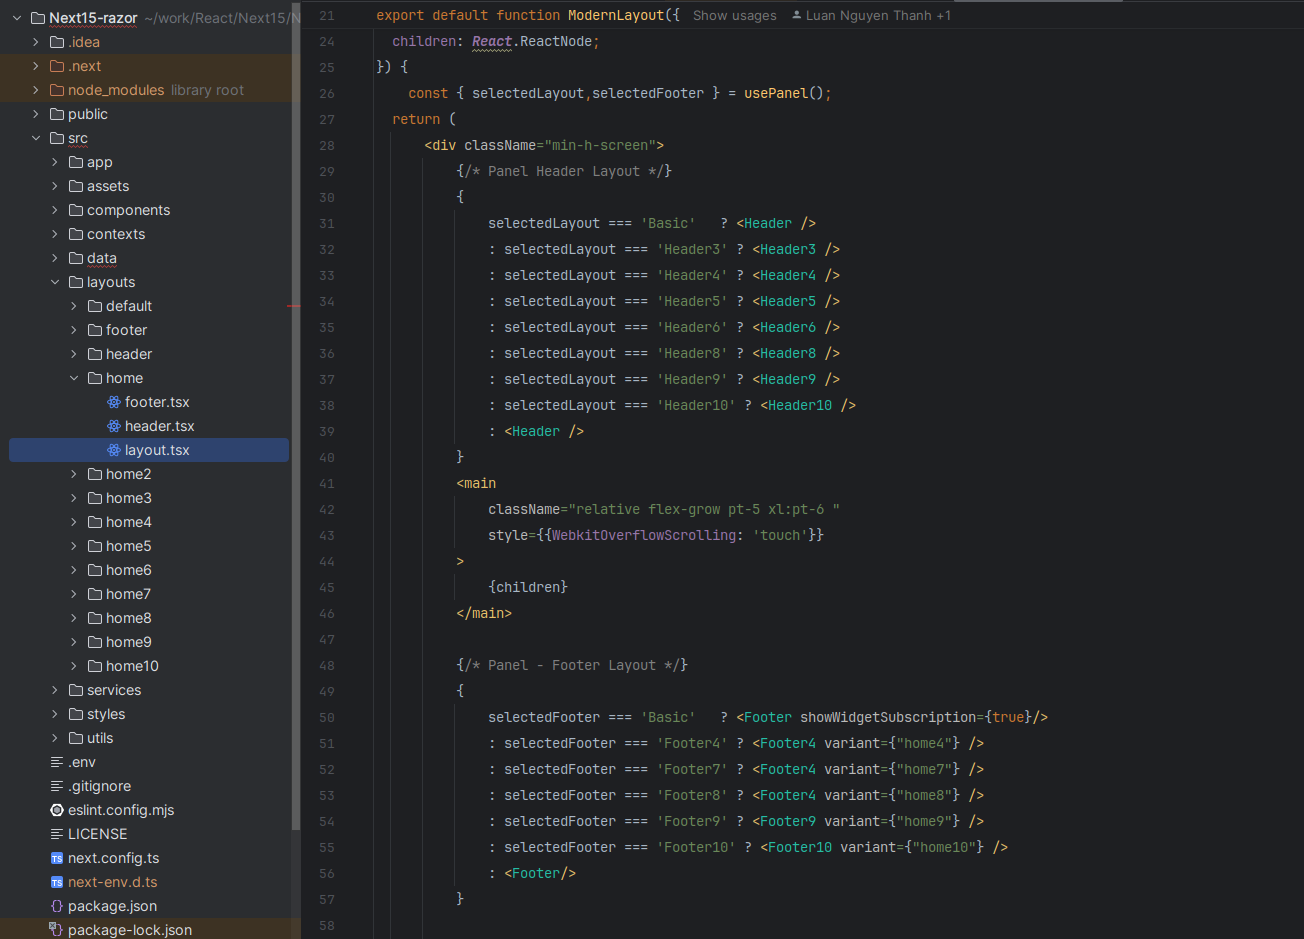
Layout Header & Footer
To change Layout Header and Footer do the following.
From the project folder go to layoutsdefault,home,home2 ...layout.tsxOpen the menu you want to use
Layout Header & Footer
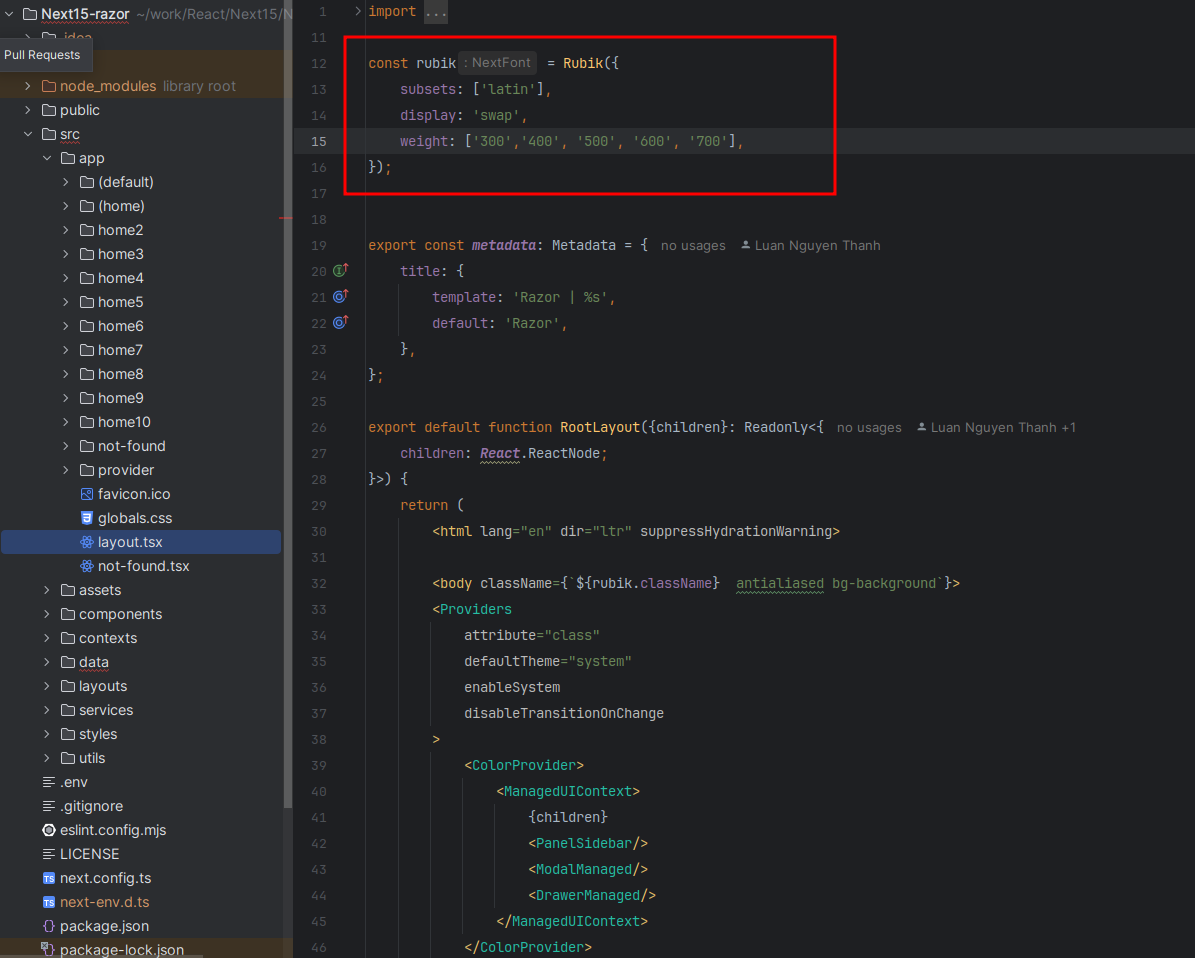
Google fonts
To change Google fonts do the following.
From the project folder go to applayout.tsxOpen the menu you want to use
Google fonts
Support
If you face any issue please contact us at
Support Ticket. We provide 24 hours real-time support for our customers.
 NextJS 15 - Uminex